
Easy Diy Foil With A Laminator And Laser Printer
SKU #6676973289508
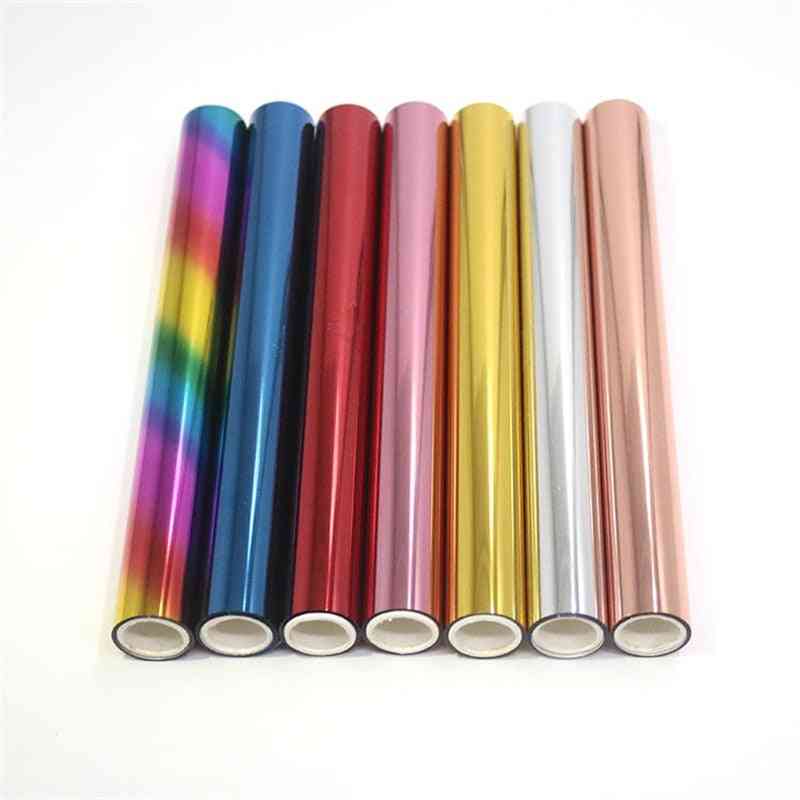
Art: Craft Paper & Foil
Verfügbarkeit: Auf Lager
Preise ab: $ 28.79
KOSTENLOSER VERFOLGTER VERSAND WELTWEIT
FEATURES:
Made of carbon steel material, good toughness and durable. Cut out or engrave shapes with your favorite manual machine, you can even use these dies as templates.
Suitable for any die cutting machine. Wide range of applications. Punch or cut shapes from a variety of materials such as paper, cardstock, chipboard, specialty paper, and much more
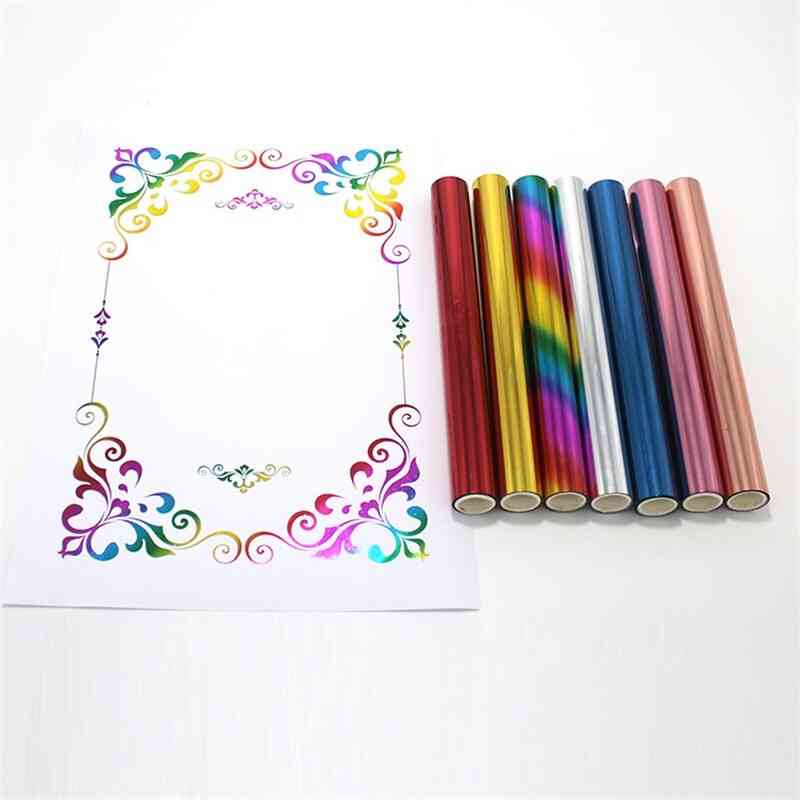
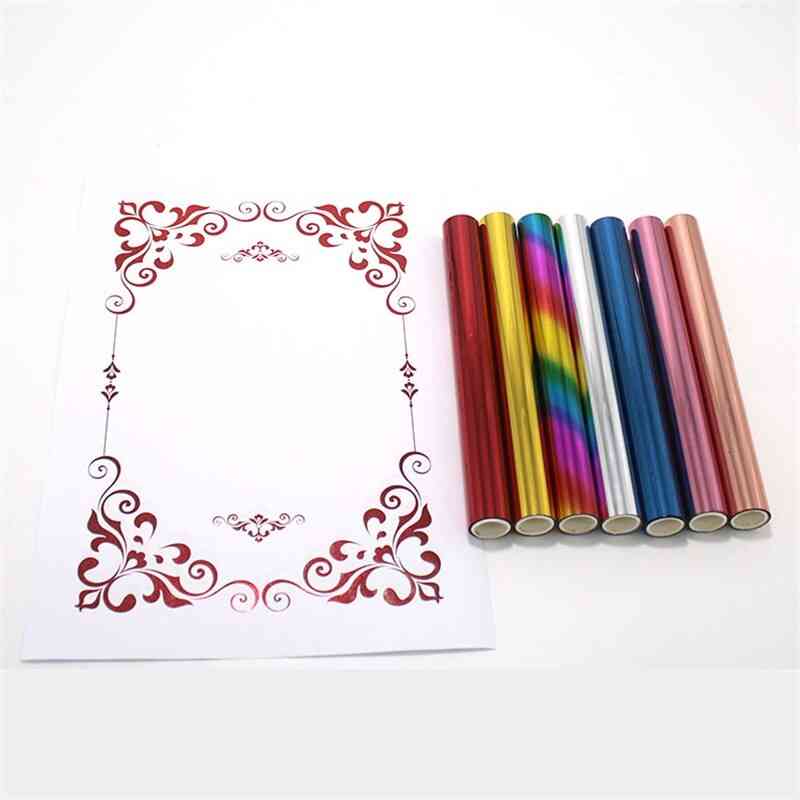
Perfect for scrapbooks, cards, paper crafts, themed invitations, scrapbooks, album decoration, greeting cards, photo frames, etc.
The template is a great gift for children and friends, they are good for developing children's practical ability and developing intelligence.
Good tool for handmade gifts, birthdays, souvenirs, scrapbooking effect, paper greeting cards, photo albums, craft paper to create stunning 3D effect. Make card and scrapbook designs completely unique and even layering them, an essential ingredient in your paper crafts process, let you experience the fun of DIY
SPECIFICATIONS:
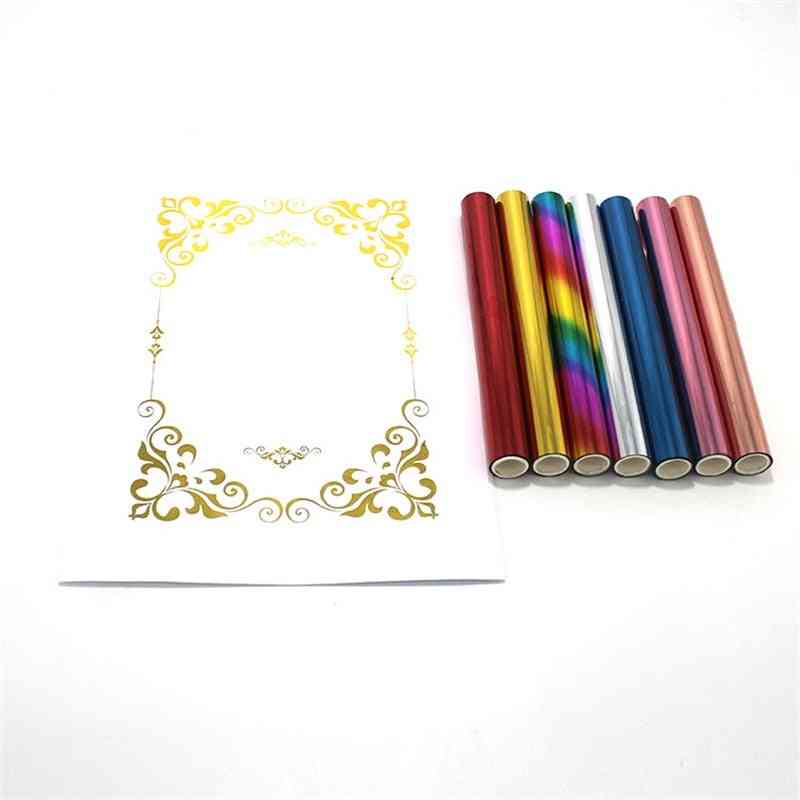
Material:
Toner Reactive Foil Paper
Set Type:
Yes
Size:
about 5M x 19.3 cm (196.85 x 7.6 inch )
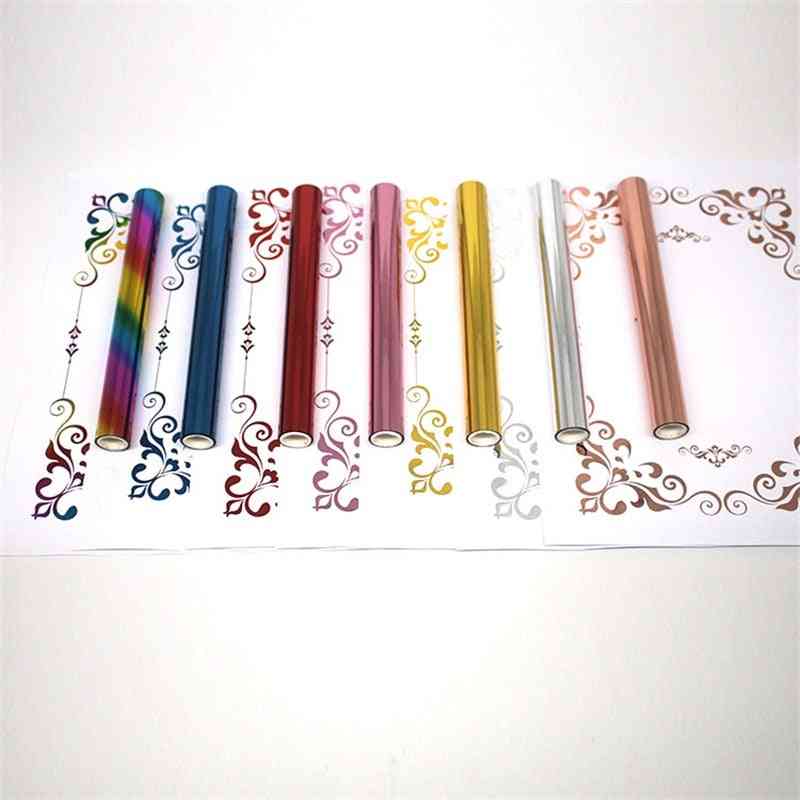
Uses:
mainly used for invitations, business cards, calendars, certificates, Paper Cards and other bronzing word.
Quantity:
1 Roll
HOW TO USE:
Step 1:
Print your patterns on regular paper or card stock with your laser printer;
Step 2:
Next, roll out your toner-reactive foil over your paper, shiny side up. Make sure it covers all of the black ink on your paper;
Step 3:
Trim the foil so that it fits perfectly over the sheet of paper;
Step 4:
Place a piece of card stock over the top of the foil to hold the metallic foil in place;
Step 5:
Now that you have sandwiched your foil between the two pieces of paper, run it through your laminator. Sometimes you need to do this twice or three times just to make sure the foil reacts to the toner as well as you want it to; (TIP:
Make sure your laminator is warmed up properly before use. )
Step 6:
Your foil will be attached to the bottom sheet of paper. Peel it off slowly.

Produkt entspricht nicht der Beschreibung? Kontaktieren Sie uns innerhalb von 30 Tagen nach Erhalt!
Im Falle einer Stornierung wird das Geld innerhalb von 3 Tagen auf Ihr Konto zurückerstattet.
Made of carbon steel material, good toughness and durable. Cut out or engrave shapes with your favorite manual machine, you can even use these dies as templates.
Suitable for any die cutting machine. Wide range of applications. Punch or cut shapes from a variety of materials such as paper, cardstock, chipboard, specialty paper, and much more
Perfect for scrapbooks, cards, paper crafts, themed invitations, scrapbooks, album decoration, greeting cards, photo frames, etc.
The template is a great gift for children and friends, they are good for developing children's practical ability and developing intelligence.
Good tool for handmade gifts, birthdays, souvenirs, scrapbooking effect, paper greeting cards, photo albums, craft paper to create stunning 3D effect. Make card and scrapbook designs completely unique and even layering them, an essential ingredient in your paper crafts process, let you experience the fun of DIY
SPECIFICATIONS:
Material:
Toner Reactive Foil Paper
Set Type:
Yes
Size:
about 5M x 19.3 cm (196.85 x 7.6 inch )
Uses:
mainly used for invitations, business cards, calendars, certificates, Paper Cards and other bronzing word.
Quantity:
1 Roll
HOW TO USE:
Step 1:
Print your patterns on regular paper or card stock with your laser printer;
Step 2:
Next, roll out your toner-reactive foil over your paper, shiny side up. Make sure it covers all of the black ink on your paper;
Step 3:
Trim the foil so that it fits perfectly over the sheet of paper;
Step 4:
Place a piece of card stock over the top of the foil to hold the metallic foil in place;
Step 5:
Now that you have sandwiched your foil between the two pieces of paper, run it through your laminator. Sometimes you need to do this twice or three times just to make sure the foil reacts to the toner as well as you want it to; (TIP:
Make sure your laminator is warmed up properly before use. )
Step 6:
Your foil will be attached to the bottom sheet of paper. Peel it off slowly.
GARANTIE
Wir erstatten Ihr Geld zurück, wenn der Artikel nicht innerhalb von 40 Tagen nach dem Kauf geliefert wurde. Sie haben 2 Wochen Zeit, um eine Rückerstattung zu beantragen – bis zum Tag 60.Produkt entspricht nicht der Beschreibung? Kontaktieren Sie uns innerhalb von 30 Tagen nach Erhalt!
Im Falle einer Stornierung wird das Geld innerhalb von 3 Tagen auf Ihr Konto zurückerstattet.