
Easy Diy Foil With A Laminator And Laser Printer
SKU #6676973289508
Type: Craft Paper & Foil
Availability: In Stock
Prices starting from: $ 28.79
FREE TRACKED SHIPPING WORLDWIDE
FEATURES:
Made of carbon steel material, good toughness and durable. Cut out or engrave shapes with your favorite manual machine, you can even use these dies as templates.
Suitable for any die cutting machine. Wide range of applications. Punch or cut shapes from a variety of materials such as paper, cardstock, chipboard, specialty paper, and much more
Perfect for scrapbooks, cards, paper crafts, themed invitations, scrapbooks, album decoration, greeting cards, photo frames, etc.
The template is a great gift for children and friends, they are good for developing children's practical ability and developing intelligence.
Good tool for handmade gifts, birthdays, souvenirs, scrapbooking effect, paper greeting cards, photo albums, craft paper to create stunning 3D effect. Make card and scrapbook designs completely unique and even layering them, an essential ingredient in your paper crafts process, let you experience the fun of DIY
SPECIFICATIONS:
Material: Toner Reactive Foil Paper
Set Type: Yes
Size: about 5M x 19.3 cm (196.85 x 7.6 inch )
Uses: mainly used for invitations, business cards, calendars, certificates, Paper Cards and other bronzing word.
Quantity: 1 Roll
HOW TO USE:
Step 1: Print your patterns on regular paper or card stock with your laser printer;
Step 2: Next, roll out your toner-reactive foil over your paper, shiny side up. Make sure it covers all of the black ink on your paper;
Step 3: Trim the foil so that it fits perfectly over the sheet of paper;
Step 4: Place a piece of card stock over the top of the foil to hold the metallic foil in place;
Step 5: Now that you have sandwiched your foil between the two pieces of paper, run it through your laminator. Sometimes you need to do this twice or three times just to make sure the foil reacts to the toner as well as you want it to; (TIP: Make sure your laminator is warmed up properly before use. )
Step 6: Your foil will be attached to the bottom sheet of paper. Peel it off slowly.

Product doesn't match the description? Contact us within 30 days after you receive it!
In case of cancellation, money will be refunded to your account within 3 days.
Made of carbon steel material, good toughness and durable. Cut out or engrave shapes with your favorite manual machine, you can even use these dies as templates.
Suitable for any die cutting machine. Wide range of applications. Punch or cut shapes from a variety of materials such as paper, cardstock, chipboard, specialty paper, and much more
Perfect for scrapbooks, cards, paper crafts, themed invitations, scrapbooks, album decoration, greeting cards, photo frames, etc.
The template is a great gift for children and friends, they are good for developing children's practical ability and developing intelligence.
Good tool for handmade gifts, birthdays, souvenirs, scrapbooking effect, paper greeting cards, photo albums, craft paper to create stunning 3D effect. Make card and scrapbook designs completely unique and even layering them, an essential ingredient in your paper crafts process, let you experience the fun of DIY
SPECIFICATIONS:
Material: Toner Reactive Foil Paper
Set Type: Yes
Size: about 5M x 19.3 cm (196.85 x 7.6 inch )
Uses: mainly used for invitations, business cards, calendars, certificates, Paper Cards and other bronzing word.
Quantity: 1 Roll
HOW TO USE:
Step 1: Print your patterns on regular paper or card stock with your laser printer;
Step 2: Next, roll out your toner-reactive foil over your paper, shiny side up. Make sure it covers all of the black ink on your paper;
Step 3: Trim the foil so that it fits perfectly over the sheet of paper;
Step 4: Place a piece of card stock over the top of the foil to hold the metallic foil in place;
Step 5: Now that you have sandwiched your foil between the two pieces of paper, run it through your laminator. Sometimes you need to do this twice or three times just to make sure the foil reacts to the toner as well as you want it to; (TIP: Make sure your laminator is warmed up properly before use. )
Step 6: Your foil will be attached to the bottom sheet of paper. Peel it off slowly.
WARRANTY
We'll refund your money if the item hasn't been delivered within 40 days after purchase. You have 2 weeks to request a refund — until day 60.Product doesn't match the description? Contact us within 30 days after you receive it!
In case of cancellation, money will be refunded to your account within 3 days.
SIMILAR PRODUCTS
 Eva Foam Sponge Paper Sheet Crafts Kindergarten Diy Materials Suppliers
FREE SHIPPING
 Glitter Circle Polka Dot Paper
FREE SHIPPING
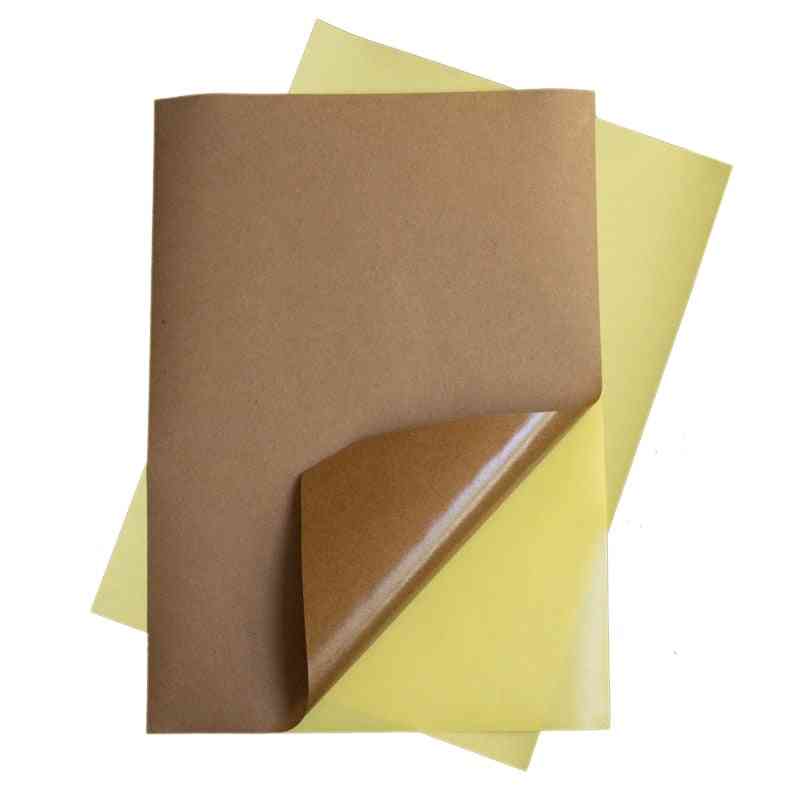 Brown Kraft Paper Self Adhesive Sticker Printing Labels For Inkjet Laser Copier Craft
FREE SHIPPING
 Diy Material Red Copper Foil Plate
FREE SHIPPING
 Bottle Decorative Gold Leaf Flakes
FREE SHIPPING
 Painting Colored Sandpaper/card/craft Papers
FREE SHIPPING
 Double Sided Coloured Folded Craft Paper
FREE SHIPPING
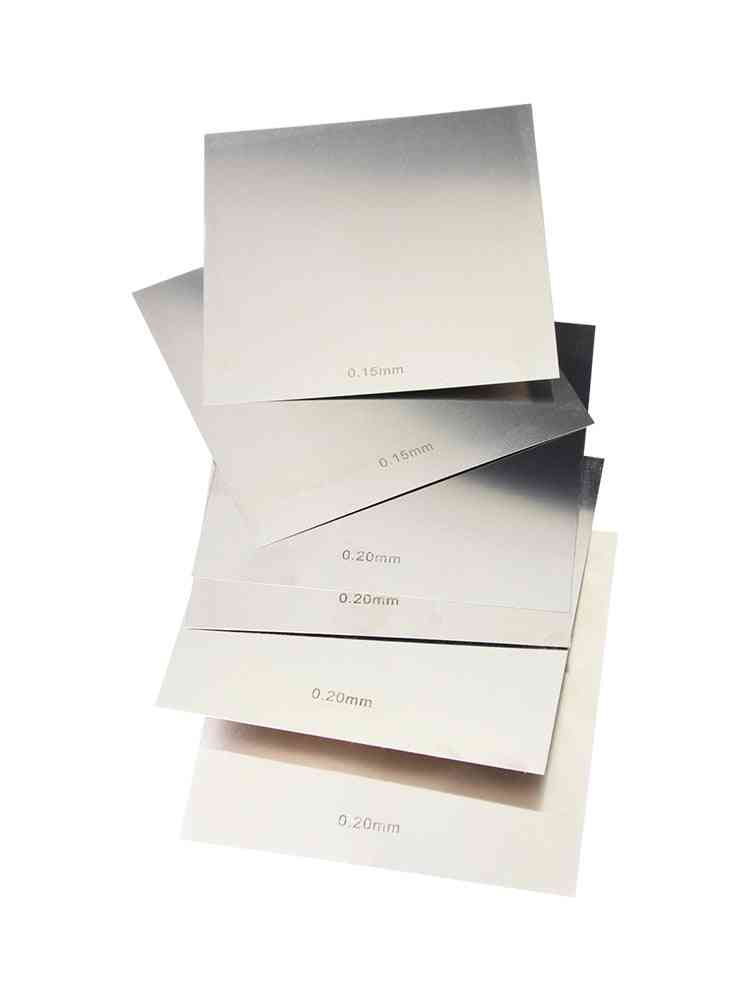 Stainless Steel Square Polished Plate Sheet
FREE SHIPPING
 Aluminum Foil Bubble Heat Insulation Film Double Face Material For Roof And Sun Room Waterproof - 3m X 1m
FREE SHIPPING
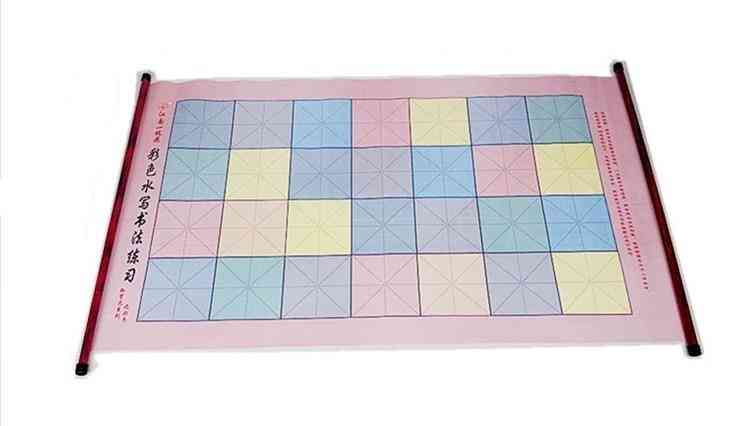 Beginner Suit Practice Writing On Water Canvas
FREE SHIPPING
 Notebook Internal Thick Draft Paper
FREE SHIPPING
 Solid Color Square Origami Single Side Shining Folding Papers
FREE SHIPPING
 Travel Movie Kraft Paper Card Decorative Stationery Scrapbooking Diy Diary Album Material Paper Lomo Cards
FREE SHIPPING
 Multicolor A4 Sponge Eva Foam Paper
FREE SHIPPING
 Ocean Beach Wave Metal
FREE SHIPPING
 Multicolor- Shiny Gold Leaf, Furniture Lines Wall Crafts, Handicrafts Gilding Decoration
FREE SHIPPING
 Tissue Paper
FREE SHIPPING
 Two Toned Duplex Crepe Paper
FREE SHIPPING
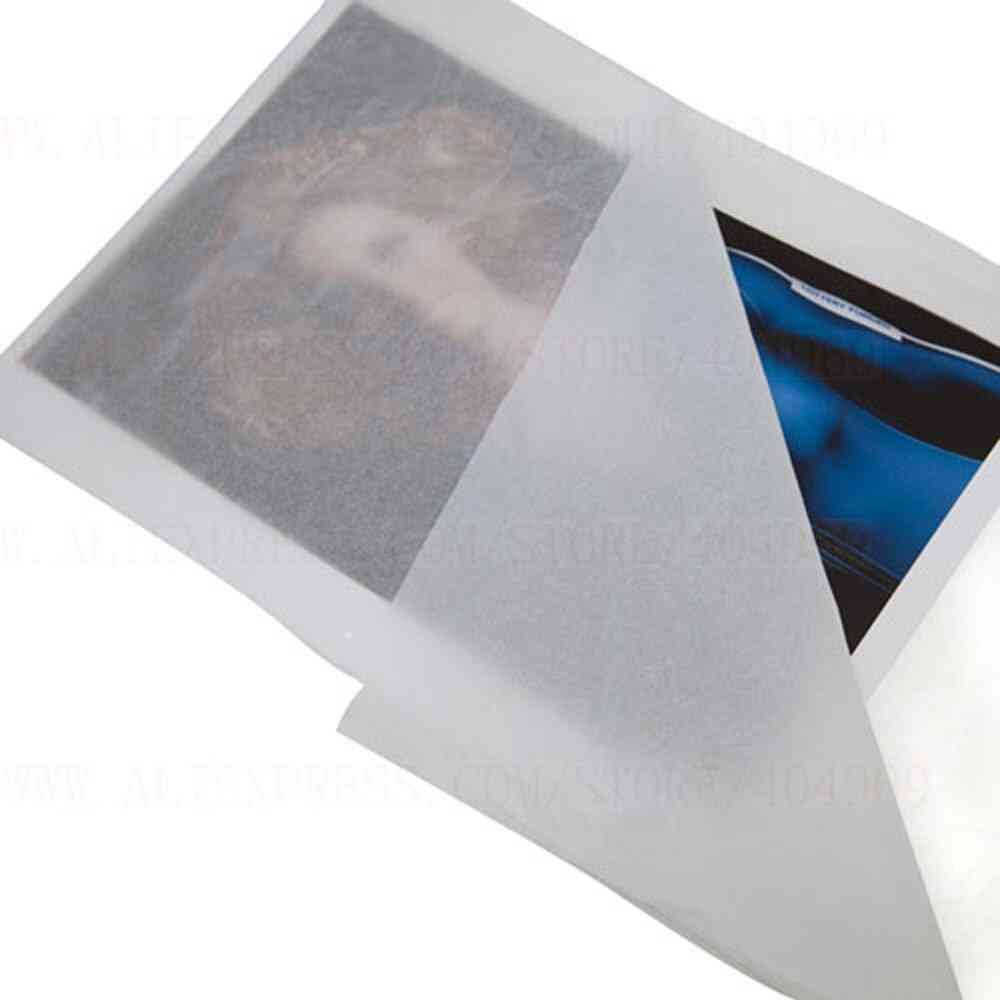 A0 Mf Acid Free Tissue Paper
FREE SHIPPING